ESP32 INTERFACING WITH E-INK DISPLAY. COMPLETE TUTORIAL
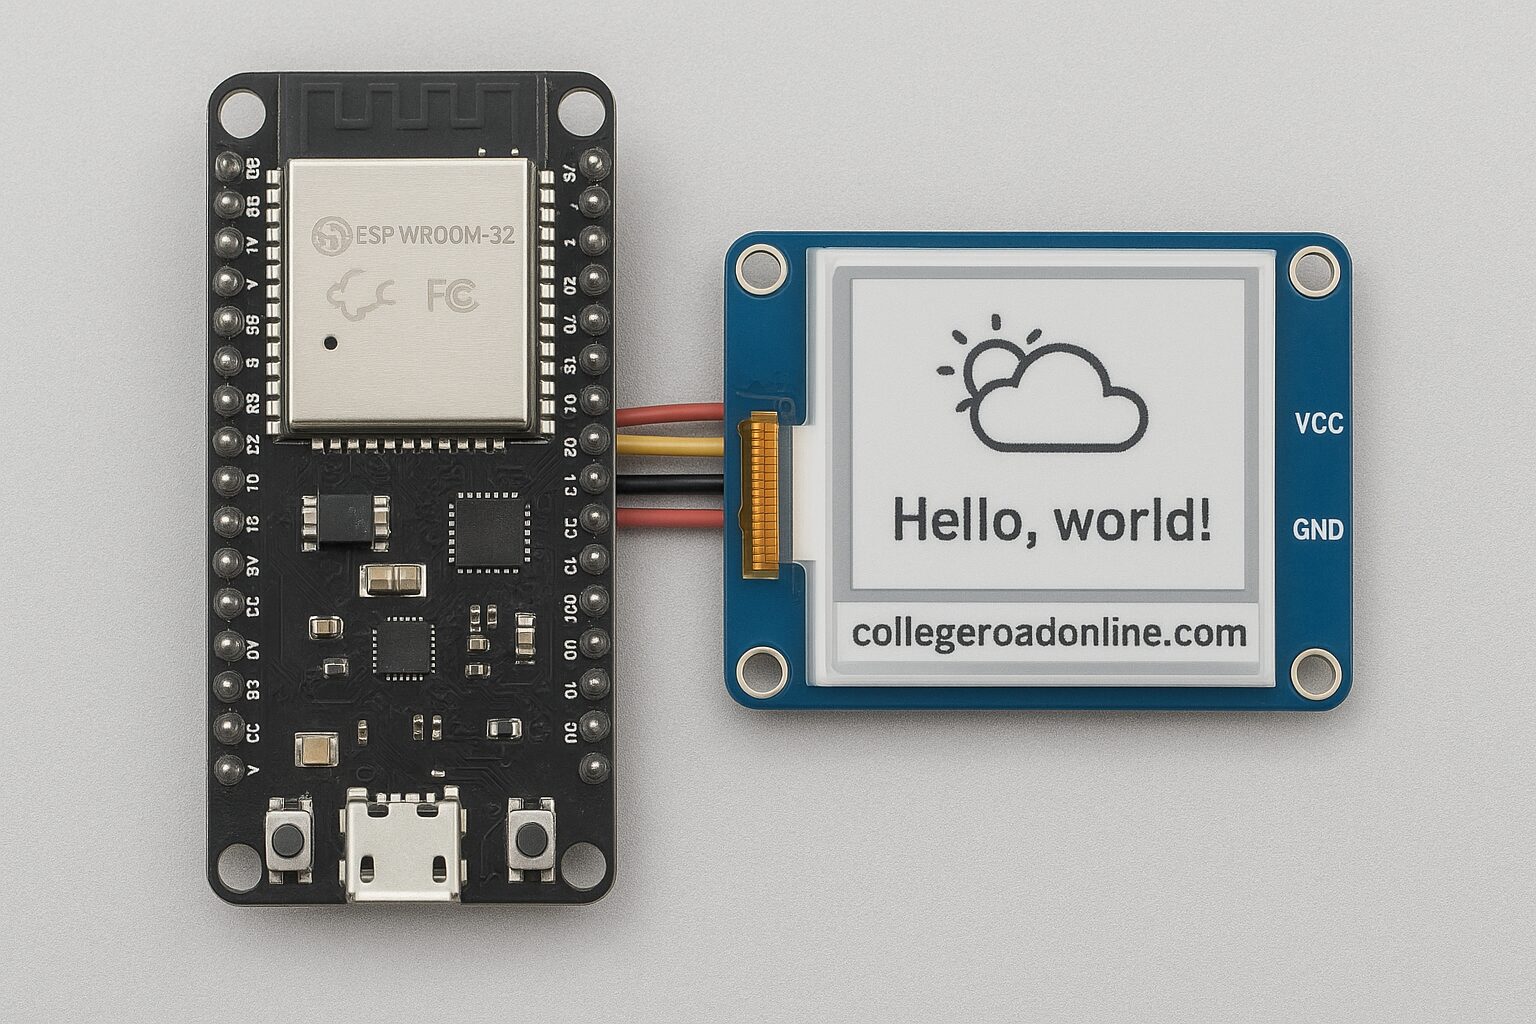
ESP32 INTERFACING WITH E-INK DISPLAY. COMPLETE TUTORIAL

The ESP32 has surged in popularity, becoming a preferred microcontroller for Internet of Things (IoT) applications. Its robust dual-core processor, integrated Wi-Fi and Bluetooth capabilities, along with numerous GPIO pins, offer virtually limitless opportunities. In this blog post, we will explore five leading ESP32 projects that are gaining traction in…
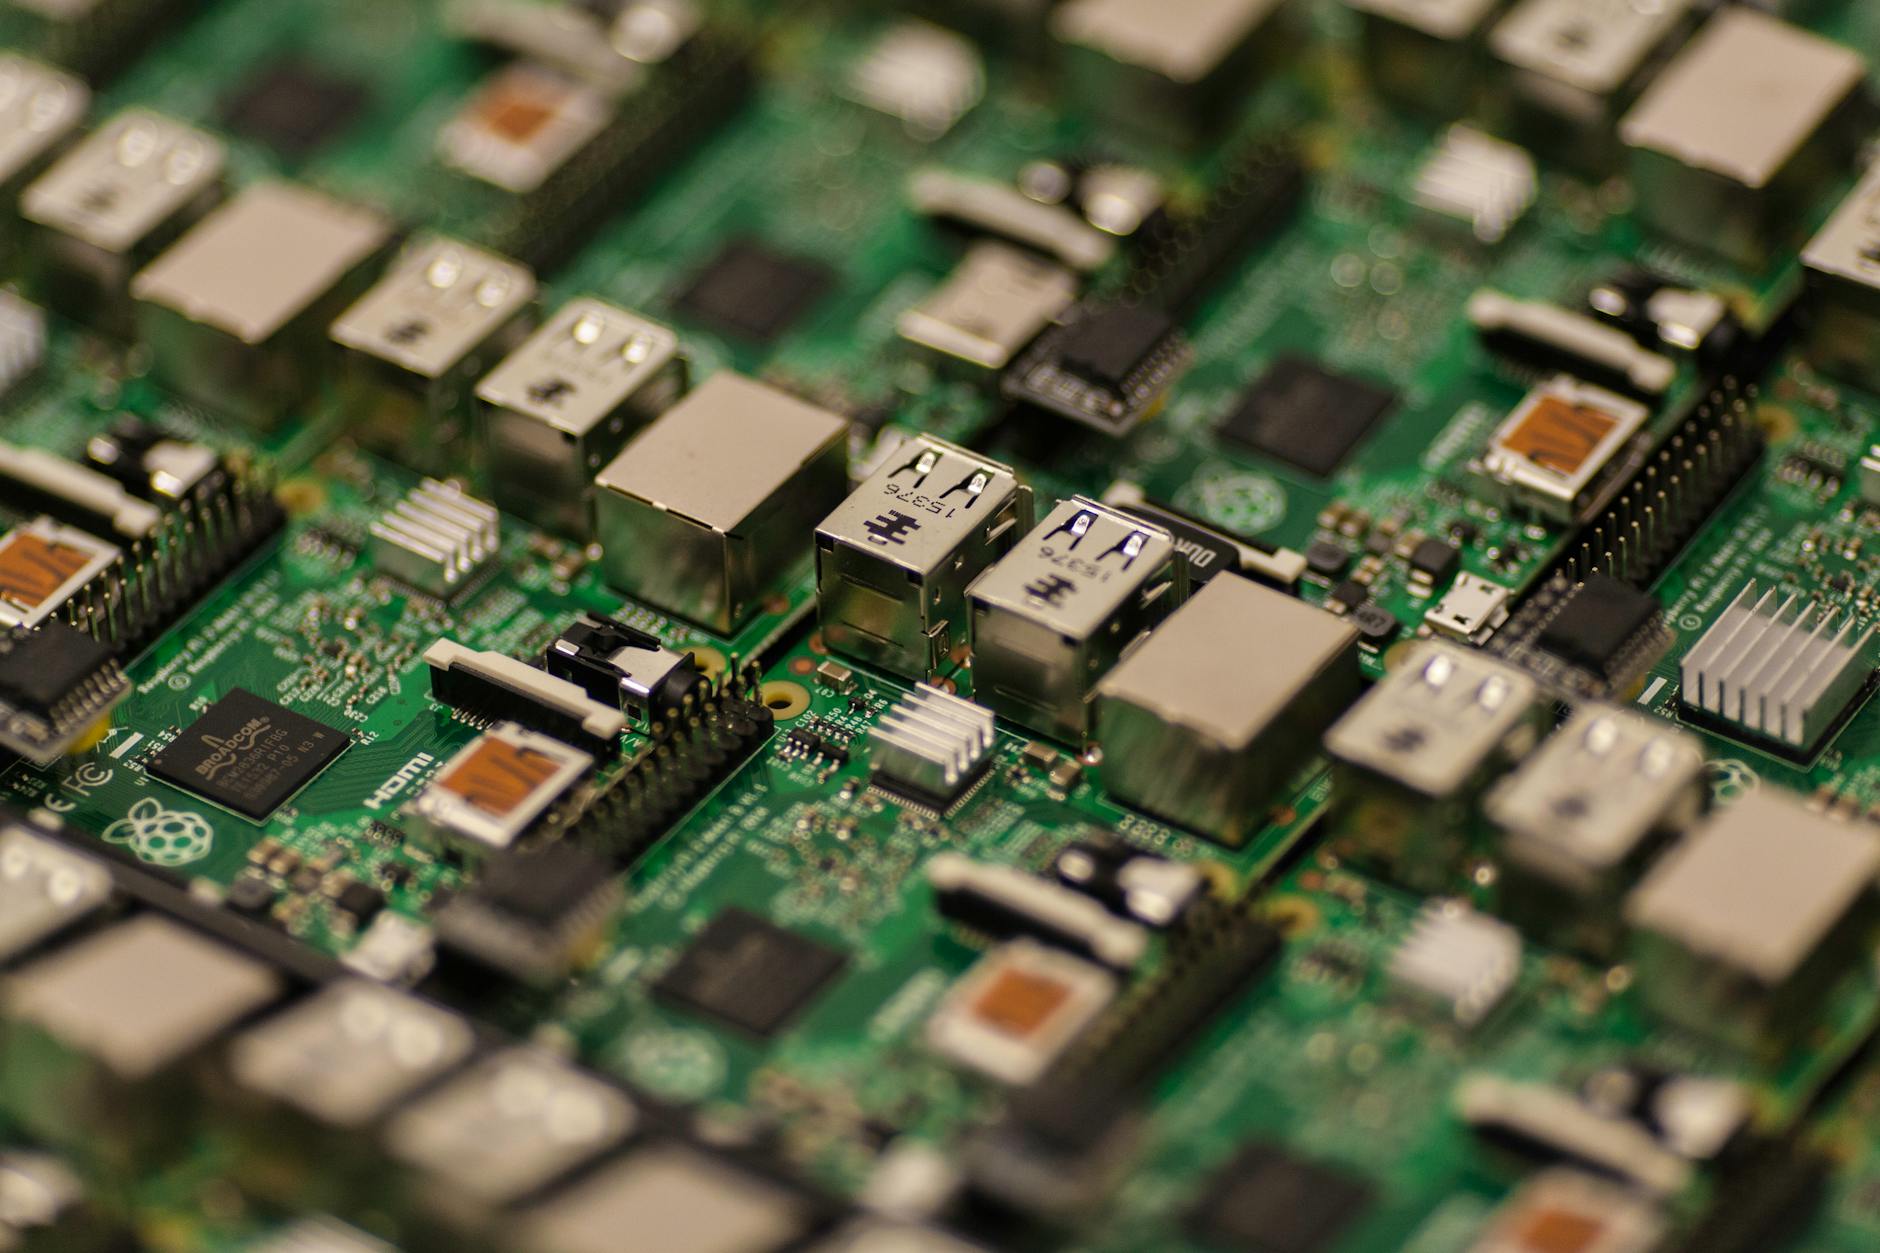
This post explains the working of DHT11/22 Temperature and humidity sensors interfacing with Raspberry pi 4 and 5.